In preparation for Laracon EU in a couple of weeks i figured I’d need to take a device along with me - paper and pen would probably have been fine but Laracon looks to be huge and i dont want to be unprepared, plus you always see rows of silver lids and glowing apple symbols in the photos from developer conferences!
I do almost all of my work on a Dell Precision 7710 which dual boots Ubuntu for development purposes and Windows for my photo editing. I also have a Surface Pro 4 which i use for note taking and photo editing on the go - I’ll be writing about how I keep all of my photos in sync in a future post!
Neither of the above are Macbooks but whilst the Dell Precision runs Ubuntu and anything else I can throw at it, it is HUGE and not ideal to take well … anywhere! So I figured I’d try and get a development environment set up on my Surface Pro 4 instead.
I’d heard of setups using Homestead / Vagrant / Virtualbox before, but since I was using Ubuntu, I’ve never had any need to explore it any further so this really is a guide for first timer noobs. The official Laravel Homestead guide appears to be geared up mostly for Mac users, Windows users will need a bit more help which is where I’m hoping this post will help.
Anyway by the end of this guide I’ll have a Surface Pro 4 running Laravel Homestead and fingers crossed you’ll have a Windows device doing the same thing too! This has been a really long introduction, lets get to it!
A couple of weeks ago Microsoft released their Anniversary update for Windows 10 and one of the features I was excited for but wasn’t quite sure why was the inclusion of “Bash On Ubuntu On Windows”, a ridiculous name for an Ubuntu subsystem on Windows. Since it’s release I’d only really used it to replace Putty and ssh onto other machines, so I was really hoping I’d be able to leverage some of its features for the development environment on the Surface.
1. Enable Bash On Ubuntu On Windows
- In Windows 10 with the Anniversary Update applied, open the start menu and type
updateto bring up the settings menu and click onUpdate & Security, - On the left hand side of the new screen towards the bottom there is a section called
For Developers, click on that and in the right hand panel press the radio button forDeveloper Mode
- Open the start menu and type in
programsand openPrograms and Features, then on the left hand side click onTurn Windows features on or offand scroll down until you seeWindows Subsystem for Linux (Beta)
- Open the start menu and type
bashand openbash.exe, follow the commands that come up to create your Linux user - Bash on Ubuntu On Windows should now be installed!
From here forward I’ll differenciate between the two terminals like this1
> an arrow means a Windows cmd prompt
1 | $ a dollar meaning a Bash prompt |
2. Install Virtualbox and Vagrant
This is pretty straight forward, install Virtualbox and the Vagrant the traditional way on Windows.
I installed them to their default locations, you’ll need to restart your machine once they’re installed.
Finally we need to pull down the laravel\homestead box to your machine. Since Bash on Windows doesn’t have access to your Windows “Path” we can’t use the Vagrant command within it so open a normal Windows cmd prompt and run:1
> vagrant box add laravel/homestead
- This takes a while so its probably a good time to make a cup of tea.
3. Install and Configure Homestead
Now we need to use git to clone the Laravel Homestead github repository. Normally we’d have to install something like Git-Bash for Windows but with Bash for Windows and access to the Ubuntu respositories we no longer need to.
- Open a Bash Terminal and work out where you are:
1 | $ pwd |
What I’ve learned so far about Bash On Windows is that Bash can see the Windows file system but Windows can NOT see the Linux file system. So we’ll need to navigate to the Windows filesystem if we want Windows to have access to the Homestead files that we’re about to clone down.
In Windows your home folder is:1
C:\Users\{username}\
So for me thats 1
2
Within the Bash terminal go to your Windows home folder
$ cd /mnt/c/Users/talvb1
2
Clone down the Homestead repository and run the `init.sh` file from within the newly cloned down folder
$ git clone https://github.com/laravel/homestead.git Homestead
$ cd Homestead
$ sh init.sh1
2
Running `sh.init` will unfortunately generate a hidden `.homestead` folder in your ***Linux*** home folder, we need it to be in our ***Windows*** home folder so lets copy that over.
$ cp -R ~/.homestead /mnt/c/Users/talvb/.homestead1
2
3
4
Next we'll need to tell the Homestead box which folders to share with your Windows environment.

So lets create a folder for our code to live. Still within our `/mnt/c/Users/talvb/` folder, create a new folder
$ mkdir Code1
We now need to edit the `Homestead.yaml` file within the previously copied folder and change the folders "map" value to match our new `Code` folder
$ nano /mnt/c/Users/talvb/.homestead/Homestead.yaml1
2
folders:
- map: c:\Users\talvb\Code
  to: /home/vagrant/Code
1 |
|
C:\Windows\System32\drivers\etc\hosts1
2
3
4
You will need to change the bottom right hand corner of the dialog from `Text Documents (.txt)` to `All Files (*.*)`

Once the file is open add the following line to the bottom but adjust the IP address if necessary
192.168.10.10 homestead.app1
2
3
4
### SSH Keys

Lets generate the ssh keys mentioned earlier:
$ ssh-keygen -t rsa -C “your-email@address.com”1
This will create you an ssh key pair that'll be used to log into your Homestead box. Again the generated files will end up in the ***Linux*** home folder, so lets copy them back over to our ***Windows*** home folder
$ cp -R ~/.ssh /mnt/c/Users/talvb/.ssh1
2
3
4
5
6
### Lets Go!

Right now we're pretty much ready to fire up our VM and start doing some web  development on our Windows Machine.

Back over on a Windows command prompt, change directory into our Homestead folder
cd c:\Users\talvb\Projects\Homestead\
2
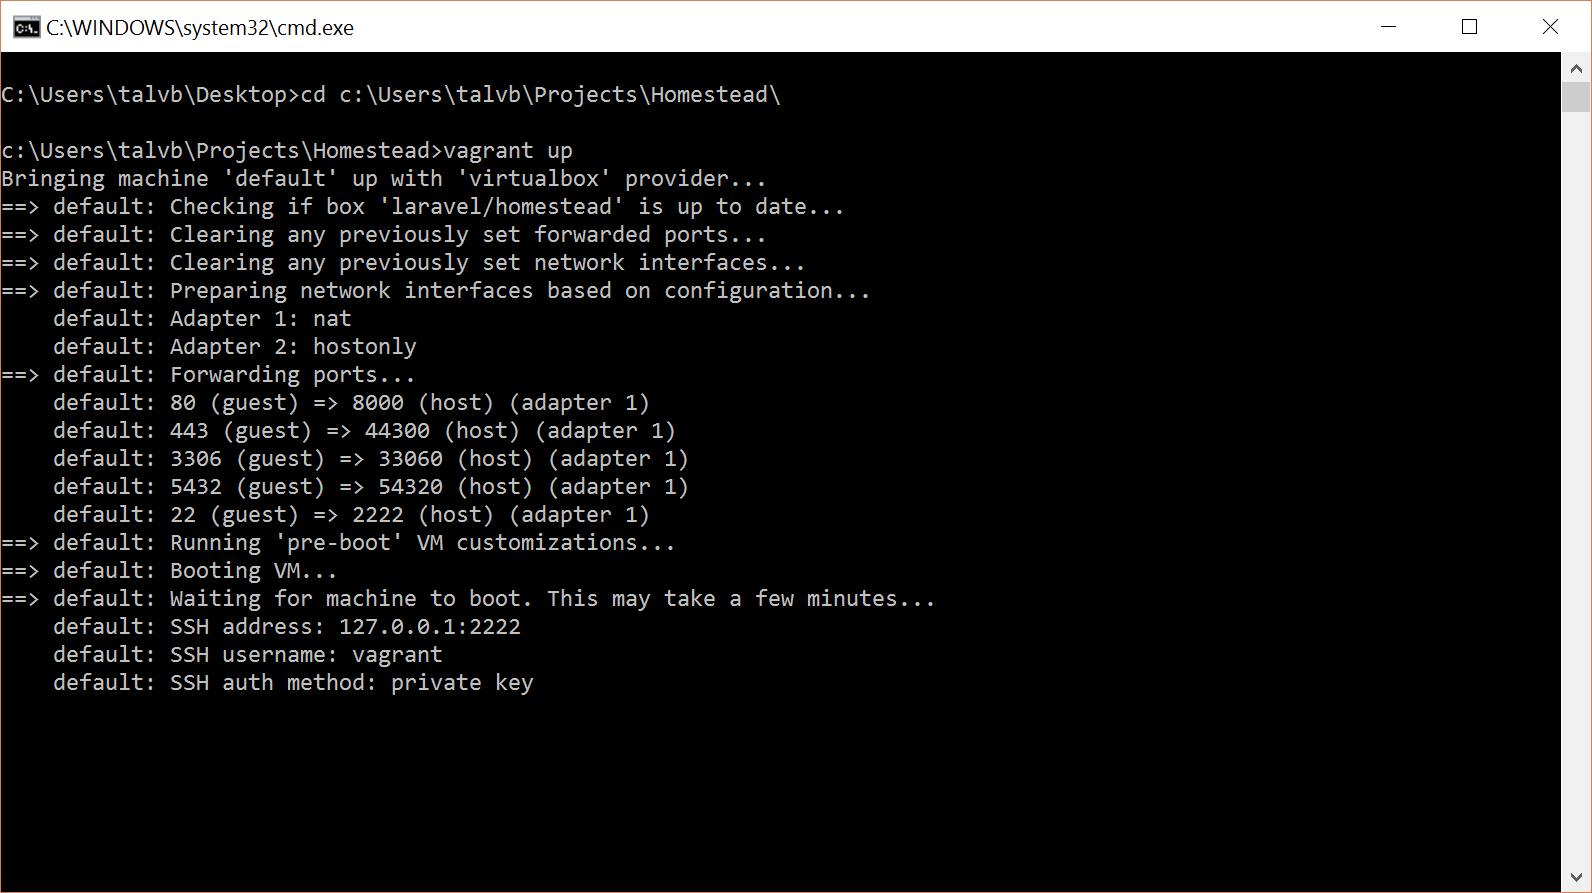
And fire up vagrantvagrant up
2
3
4
You should see something like this:

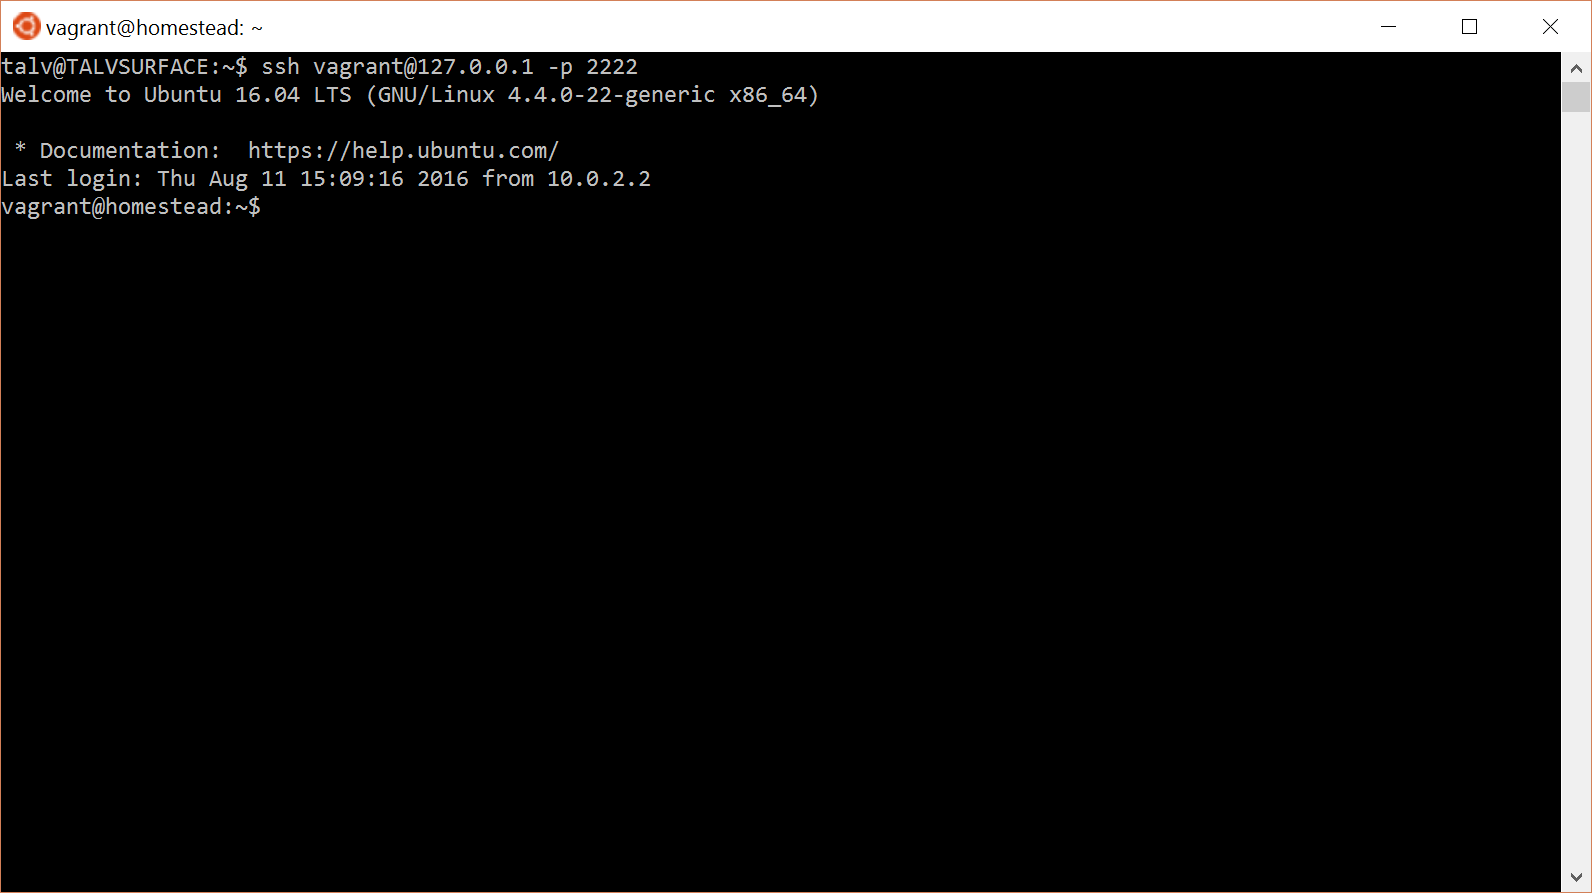
And if all is well you should now be able to ssh (from your bash prompt) into the Homestead machine with the following command
$ ssh vagrant@127.0.0.1 -p 22221
2
3
4
5
6
7
8
if you see this then everything has worked:

Woohoo, change directory into the `Code` folder develop away!
Once you have code accessible in your `~/Code/public` folder you should be able to access it in you web browser by going to
http://homestead.app1
2
3
4
The only exception to this (at least in my experience) is if you're using Microsoft's Edge browser

When you're done open a Windows command prompt and use `vagrant halt` to safely shut down the VM.
vagrant halt
2
3
4
5
6
7
8
9
10
11
## 4. Final things!

### SSH Forwarding

If you want your host ssh certificates to be accessible in your VM you'll need to make the following adjustments.

1. Make an ssh agent launch when opening bash
2. Configure ssh to forward access to the certificate files

First open your bash.rc file - `nano bash.rc` and add the following to the bottom of it:
#!/bin/bash
Set up ssh-agent
SSH_ENV=”$HOME/.ssh/environment”
function start_agent {
echo “Initializing new SSH agent…”
touch $SSH_ENV
chmod 600 “${SSH_ENV}”
/usr/bin/ssh-agent | sed ‘s/^echo/#echo/‘ >> “${SSH_ENV}”
. “${SSH_ENV}” > /dev/null
/usr/bin/ssh-add
}
Source SSH settings, if applicable
if [ -f “${SSH_ENV}” ]; then
. “${SSH_ENV}” > /dev/null
kill -0 $SSH_AGENT_PID 2>/dev/null || {
start_agent
}
else
start_agent
fi1
2
3
4
5
*(credit to the above from[ this repository](https://github.com/abergs/ubuntuonwindows#start-an-bash-ssh-agent-on-launch))
*

Then edit (or create if it doesn't exist) your ssh config file
$ nano ~/.ssh/config1
2
And add the following:
Host homestead
HostName 127.0.0.1
Port 2222
ForwardAgent yes
User vagrant1
2
3
4
**The spaces above are really important. The first line has 0 spaces in front of it and and every thing else has 2 spaces in front of them**

Once you've saved the two files restart bash and you should be able to log into the server with:
$ ssh homestead1
2
3
4
5
6
7
You should now be able to clone / pull / push from your private github / bitbucket / anything else that requires an ssh key to access it.

### Startup and Shutdown scripts!
It might seem weird having to open a Windows command prompt to start things up and shut things down but use the Linux Bash prompt to ssh onto the VM. So I decided to create 2 Windows .bat files to start up and shutdown my VM instance

Their contents are as follows:
cd c:\Users\talvb\Projects\Homestead\
vagrant up1
2
and
cd c:\Users\talvb\Projects\Homestead\
vagrant halt1
2
3
4
5
So when i want to start things up and shut things down I just use the scripts which close automatically and I only ever really have my Linux Bash prompt open.

### Accessing Sites With Edge
So this is totally weird for me, but I could access `http://homestead.app` from ***EVERY*** browser I tried *including* the Surface's own in built version of Internet Explorer 11 but for some bizarre reason Edge refuses to open local sites from my VM. It seems that I'm not alone in this I tried the instructions from the following link but had no luck, [Good luck!](http://www.hanselman.com/blog/FixedMicrosoftEdgeCantSeeOrOpenVirtualBoxhostedLocalWebSites.aspx). The only way I managed to get edge to load anything was to use the following IP address
What about installing and running Virtualbox / Vagrant through Ubuntu Bash for Windows
Short answer : It won’t work.
5. Conclusion
This was pretty long, but hopefully you have a working development environment on your Windows 10 device!
If any of the guide is not clear or its been helpful please let me know in the comments!
I’m off to have another cup of tea!


